I've completed a couple React.js/Vite projects and I'm ready to dabble into Next.js.
What better way to learn than to do?
In this post, I will walk you through installing Next.js and getting it ready for development. So, by the end of this post you will have a development-ready Next.js development environment ready to go.
Before we start make sure you have the following installed:
npmnode.jsgit
Install Next.js
-
open
terminal -
navigate to
projectfolder -
install
next.jsusing the following command:bashnpx create-next-app@latest app-name-here
You will be prompted with a series of choices:
- ✅ TypeScript
- ✅ ESLint
- ✅ TailwindCSS
- ✅
src/directory - ✅ App Router
- ✅ Turbopack
- ❌ Customize import alias
Removing boilerplate code and unused files
-
Navigate into the app root folder
-
Remove boilerplate code from the following 2 files:
jsx// src/app/page.tsx export default function Home() { return ( <div className="flex h-screen w-screen items-center justify-center bg-black text-white"> <h1 className="text-6xl text-center">Under Construction</h1> </div> ); }css/* src/app/globals.css */ @import "tailwindcss"; -
Delete
.svgand.icofiles: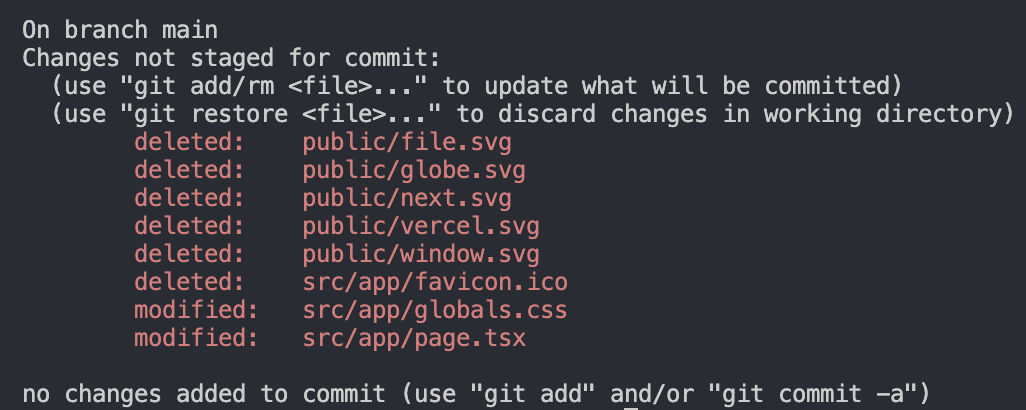
-
commit changes to git
bashgit commit -am "removed boilerplat code and unused icon files"
Link existing local to a new remote github repository
-
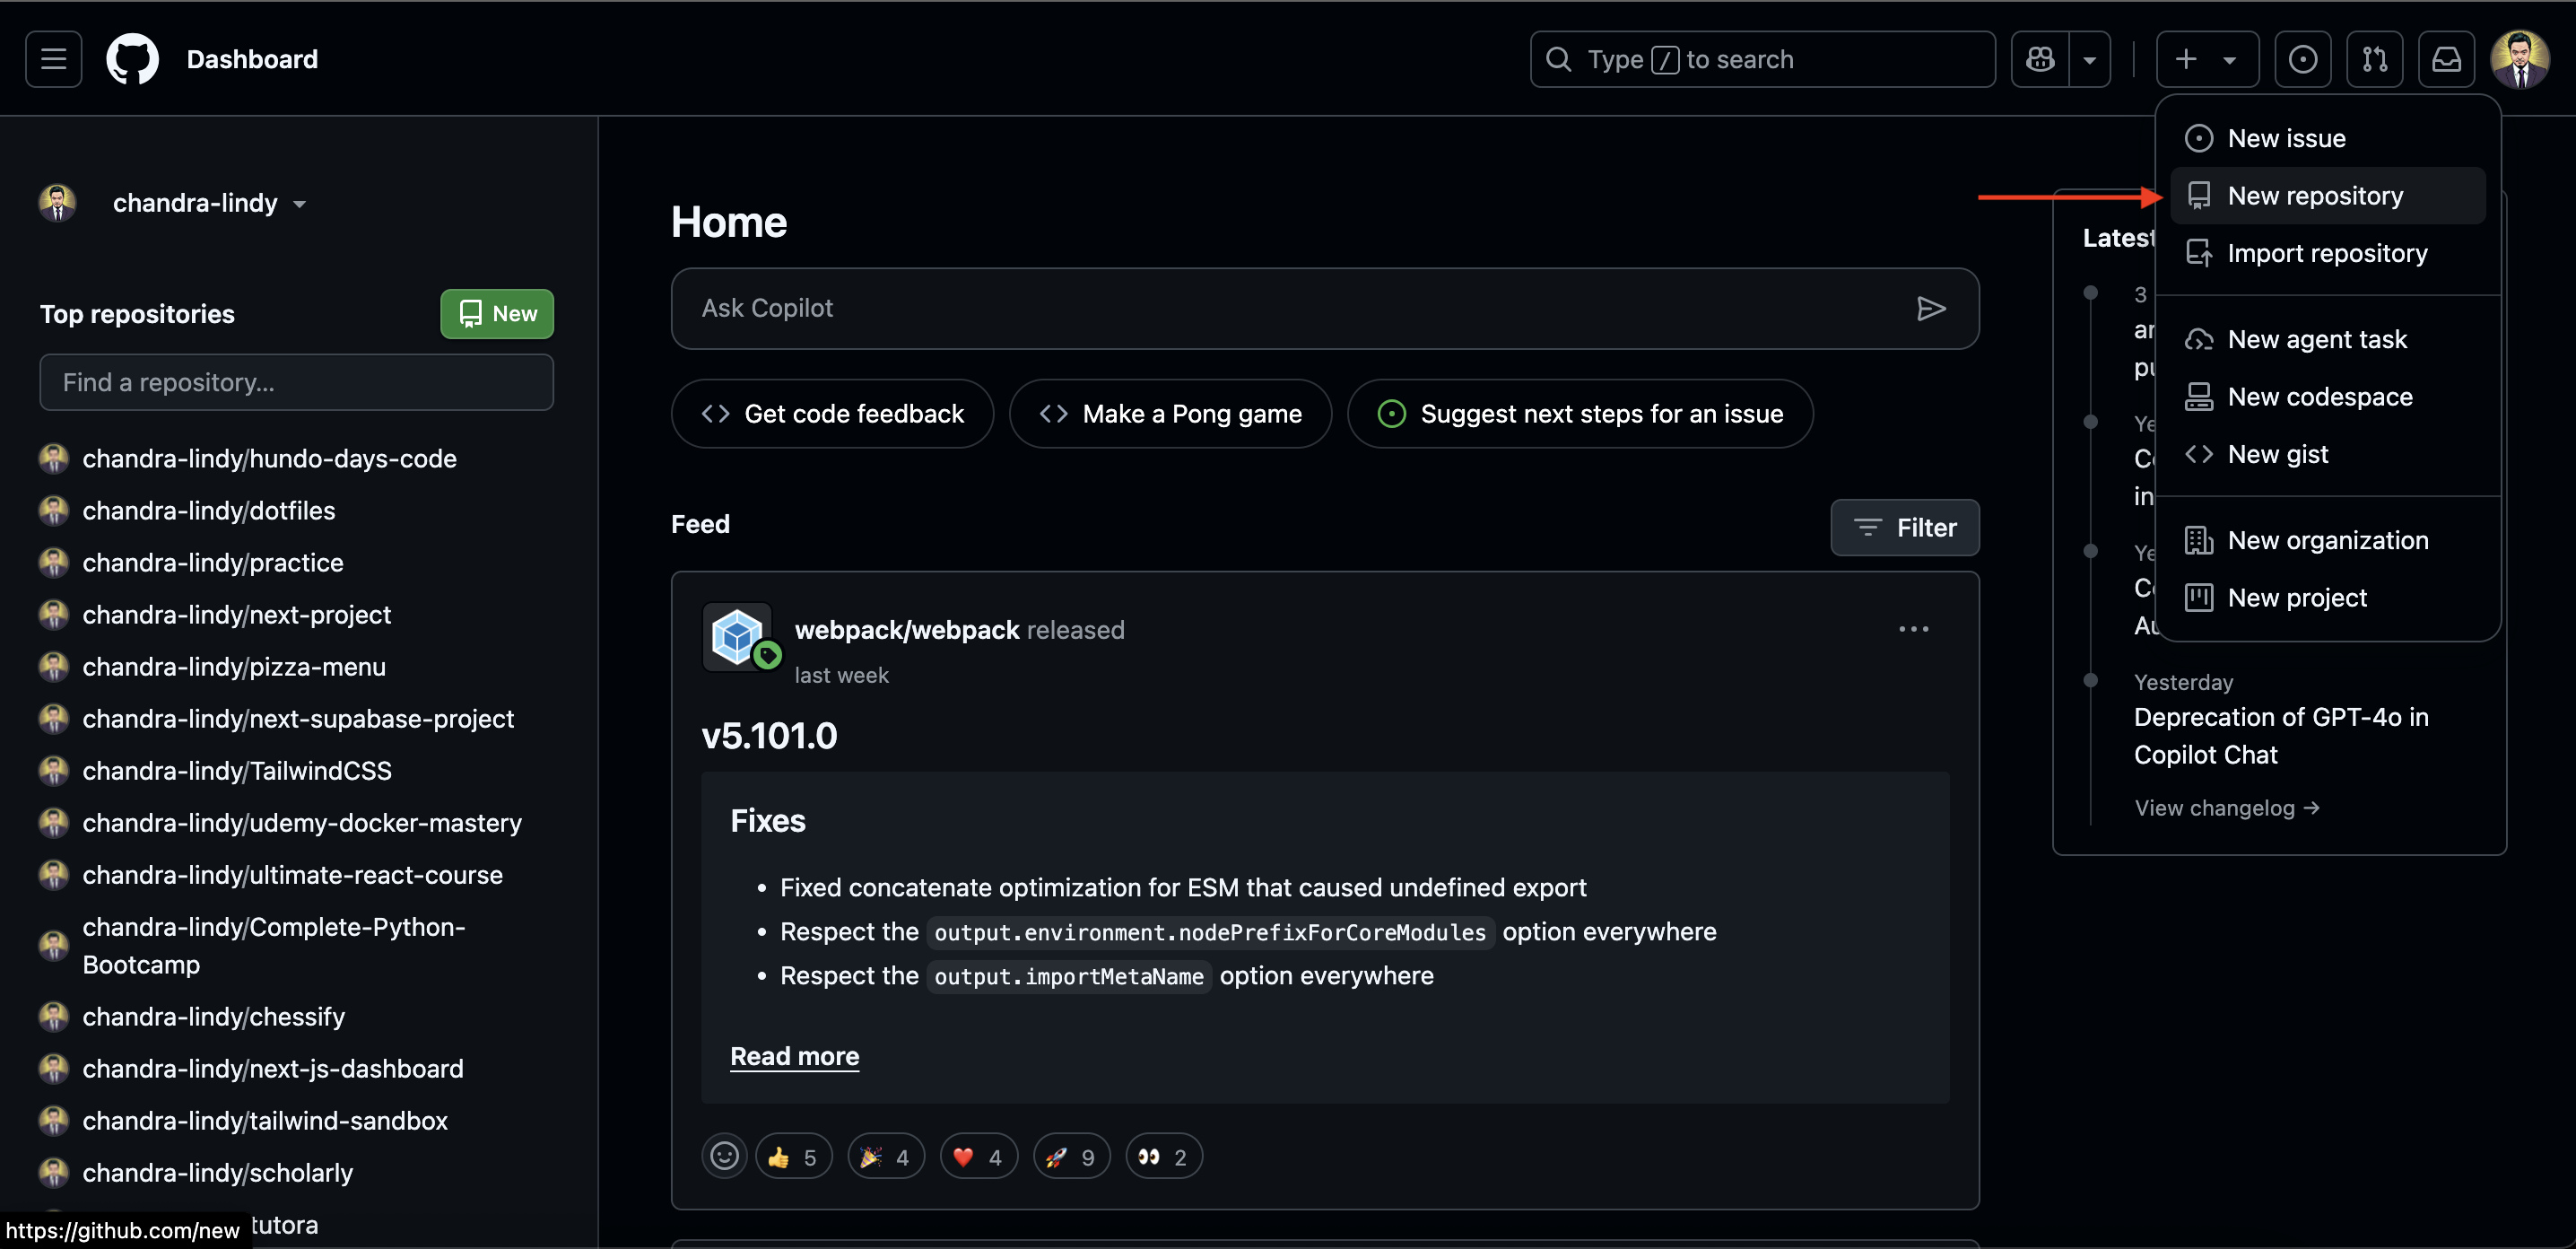
go to https://github.com
-
Create a new repository:
Follow instructions on the next screen:
- select owner
- choose repository name
- choose visibility
- click create repository
On the next screen choose:

Then paste the copied command on the terminal and hit enter
Start the development server
From application root folder run:
bashnpm run dev
You should see:

With this starting point, we are ready to build!
See you on the next one.